|
Selecting |

|

|

|
|
Selecting |
|
|
|
|
In order to change objects – whether individual or multiple – in their properties or in their positions, they must first be selected. |
There are several ways of switching to the Select mode:
|
You can select an individual object in the following ways:
Now the properties of the selected object as well as its position can be changed. A group is treated as an object. |
You can select a number of objects in the following ways:
Now you can change the common properties of the selected objects (in particular their common reference point) as well as their "center of gravity". |
By pressing Selection > Select according to type of object... all objects of a certain type (drilled holes, rectangular cutouts, studs/standoffs ... etc.) can be selected. In order to include objects which are included in a macro object, the checkbox "Also select within groups" can be checked. Using the object properties table, the common properties of objects selected in this way can be edited in one step. |
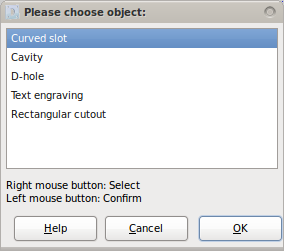
If there are several objects at the position clicked upon, a dialog box will open for you to select the desired object. Use the right mouse button to highlight the next object, with the left mouse button you can select the object currently highlighted in the dialog box.
|